The Hidden Cost of HomeLabs: Designing for Power and Uptime
Power is easy to overlook, until the room overheats or the lab goes dark. Here’s how to plan for it.

Every HomeLab uses electricity, which can be an important design constraint. How much your HomeLab costs to run, how much heat it generates, and how long it can survive on backup power all start with the same question: how much electricity does it use?
This article explores how to design a HomeLab with power in mind. It begins by examining how to measure and manage power draw, so your setup runs efficiently without breaking the bank. It then looks at how to build redundancy into your lab to withstand outages and protect data. Finally, it offers practical advice on choosing the right UPS based on your hardware and reliability goals.
Designing for Power Draw
Power draw in a HomeLab starts with one number: watts. This is the amount of electrical power a device consumes at a given moment. Most manufacturers list the maximum wattage their hardware can pull, which represents the peak power draw under full load. But most HomeLabs do not run at full capacity all the time.
There is a big difference between idle draw and max draw. A server with a 500-watt power supply may idle at 80 watts and only reach full usage during startup or heavy workloads. Unfortunately, you need to plan for the worst case, because multiple devices booting or spiking at once will draw the combined maximum. If your circuit or UPS is not sized to handle this, the whole lab will shut down.
Choosing your Hardware
Power usage varies significantly depending on the type of hardware in your HomeLab. Single-board computers like Raspberry Pi or similar ARM-based boards will have the lowest power requirement, as they typically leverage power efficient components. Mini PCs or Intel NUCs are more powerful, put still energy efficient as they built from Laptop components. The power draw of a desktop can vary greatly, depending on the hardware it's outfitted with. Finally, servers are absolutely power hungry, especially when loaded with a large number of hard disk and redundant PSUs.
| Type of Computer | Typical Max Power Draw | Notes |
|---|---|---|
| Single Board Computer | 5–15 W | Varies by model. |
| Mini PC / Intel NUC | 15–65 W | Depends on CPU generation. |
| Desktop Computer | 150–400 W | Varies based on GPUs or CPUs. |
| Rackmount Server (1U) | 400–700 W | Dual CPU and lots of memory. |
| Rackmount Server (2U+) | 500–1000+ W | More room for drives and GPUs. |
| NAS Appliance | 50–200 W | Varies by drive count. |
Calculating your day-to-day energy costs starts with a realistic estimate of average power usage. If your lab runs occasionally, plan for 25 percent of its max power draw. If it runs daily with consistent workloads, 50 percent is a safer working estimate.

be Quiet!, a manufacturer of Silent PSUs, cases and PC cooling products, provides an excellent watt calculator.
To calculate monthly cost, multiply your estimated average power draw (in watts) by the number of hours the lab runs each day. Divide by 1,000 to get kilowatt-hours, then multiply by your electricity rate.
| Country | Price (CAD per kWh) | Yearly Cost for 400W (CAD) |
|---|---|---|
| Canada | $ 0.153 | $536.11 |
| USA | $ 0.235 | $823.44 |
| France | $ 0.290 | $1,016.16 |
| Japan | $ 0.342 | $1,198.37 |
| UK | $ 0.633 | $2,218.03 |
These costs can quickly add up, especially in countries without access to cheap and renewable electricity. It's not surprising, therefore, that many home lab owners have embraced energy-efficient alternatives.
The Hidden Cost of Cooling
Nearly all of the electricity consumed by a HomeLab turns into heat. A server drawing 300 watts generates roughly 1,000 BTU of heat every hour. That heat is pushed outside the computer and will raise the temperature of any enclosed space over time.
As such, as power draw increases, so does the need for cooling. At lower levels, under 500 watts, passive airflow or a desk fan may be enough. But once you pass 600 watts, especially in a small room or rack enclosure, active cooling becomes important. At this point, many builders turn to a portable or window-mounted air conditioner.
That said, air conditioners are not free. In North America, a small AC unit rated for 5,000 BTU typically draws between 500 and 700 watts while running. This is enough to cool a HomeLab generating up to 1,400 to 1,500 watts of heat, depending on airflow and room insulation. While effective, it adds a second major source of energy consumption and will most likely require its own power circuit. In regions with high electricity costs, running both the lab and the cooling system can quickly become expensive.
Designing for Safety and Redundancy
Power failures are one of the few events that can take down an entire HomeLab instantly. Whether it's a five-second brownout or a full blackout, the result is the same: services go offline, hardware shuts down mid-process, and data may be lost or corrupted. Designing for safety & redundancy means planning your lab so that it can survive these interruptions, or at least recover from them safely.
When planning for safety, it's worth considering the most basic layer of power protection: the surge protector. These inexpensive devices are designed to absorb sudden voltage spikes caused by grid fluctuations, nearby lightning strikes, or faulty wiring. While they won't keep your lab running during a blackout, they can prevent catastrophic damage to power supplies and sensitive electronics against everything short of a direct strike.
The most basic form of redundancy is graceful shutdown. This means having a power system in place that can keep the lab running just long enough to shut down cleanly when power is lost. For most HomeLabs, this involves using a UPS to bridge short outages and give your servers time to shut down in the correct order. We'll cover UPS selection in the next section, but the key here is planning for that moment of failure, not just normal operation.

Some setups go further and include redundant power supplies. Certain rackmount servers and switches are equipped with dual power inputs, allowing them to run from two separate sources. When each power supply is connected to its own UPS or circuit, the system can stay online even if one power source fails. This feature is common in enterprise equipment, and while not always necessary in a HomeLab, it can be useful for reliability and cable management.
An additional layer of redundancy is an emergency generator. This is especially useful for those living in areas with frequent outages. A portable gasoline or propane generator can keep the lab running during extended blackouts. Some setups include an automatic transfer switch that powers essential outlets once the generator starts. Just be aware of fuel storage, noise, ventilation, and safe operation guidelines.
Choosing a UPS
A UPS, or Uninterruptible Power Supply, is a battery backup device that provides temporary power when your main supply fails. Once you know how much power your HomeLab consumes and how much redundancy you need, the next step is choose the capacity and type of UPS. In most cases, the job is simple: keep the lights on just long enough to shut things down cleanly, or ride through short outages without interruption.
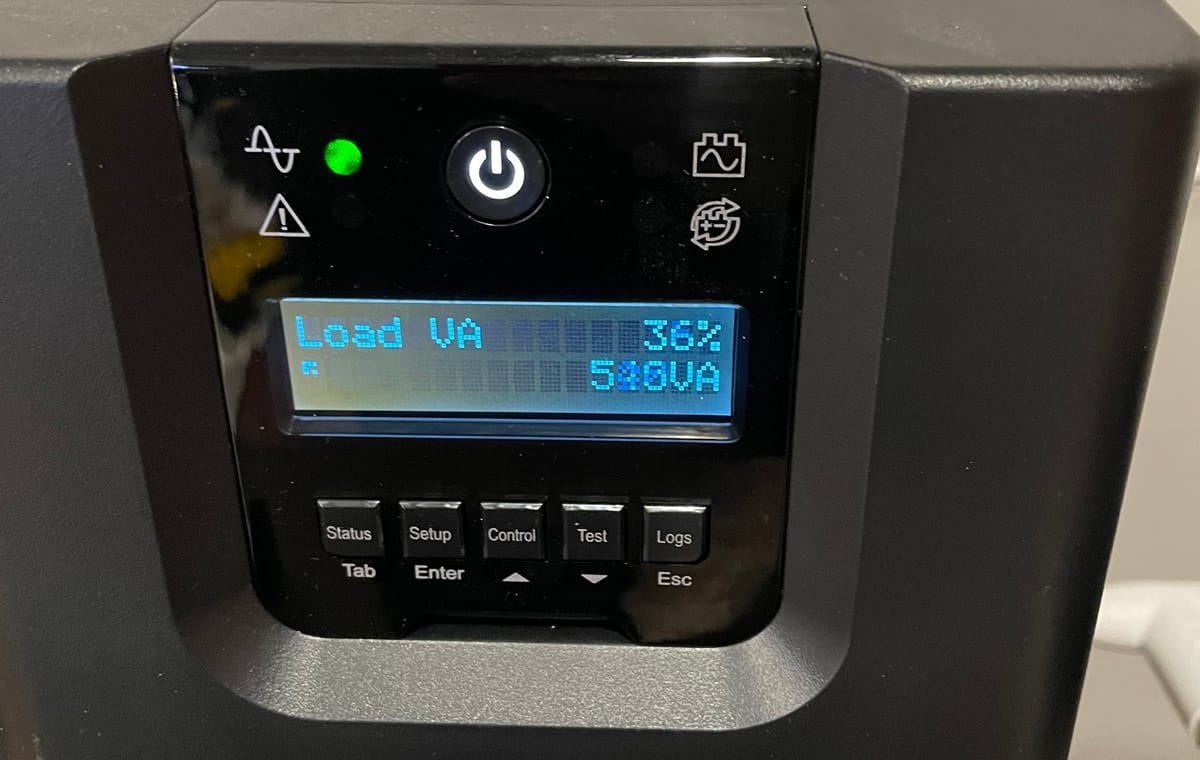
The first thing to consider is capacity. Most UPS units are rated in both VA (volt-amperes) and watts. The watt rating is the more important number, as it reflects the real power the UPS can deliver. Add up the maximum power draw of the devices you want to protect, then apply the 80 percent rule. You should never run a UPS at full capacity. For example, if your lab draws 400 watts, look for a UPS rated for at least 500 watts, as to leave room for startup spikes and future growth.
The next question is runtime. How long do you need the lab to stay online when the power goes out? For most setups, five to fifteen minutes is enough to shut down cleanly or wait out a brief outage. Runtime is a function of battery size and load. A larger UPS running a smaller load will last longer. Manufacturers often provide charts showing expected runtimes at different loads, check those numbers before you buy.
To size the UPS in terms of power delivery, take your peak power draw and divide by the power factor—usually 0.8 for consumer units. For a 300-watt load, that means choosing a UPS rated for at least 375 VA. More is better, especially if you expect startup spikes or want to extend runtime.
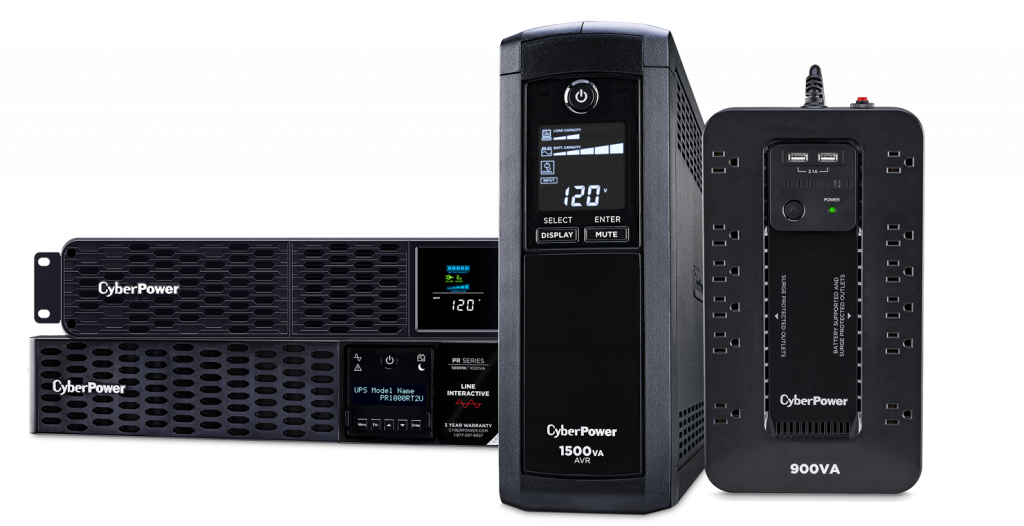
UPS units come in several form factors. Tower models are common for desktops and small setups. Rackmount units are ideal for server cabinets and can often be mounted alongside your equipment in 1U or 2U spaces. There are also flat, surge-strip-style models that store well under desks.
Most modern UPS units come with a USB port for monitoring. More advanced models offer network interfaces for remote management over Ethernet. These connections allow the UPS to communicate with your servers, enabling automated shutdowns when the battery gets low. Tools like NUT (Network UPS Tools), APC PowerChute, or CyberPower PowerPanel let you configure shutdown logic and alerts. In multi-server setups, one system can act as the UPS host and relay signals to other machines across the network.

Another important detail is the type of power waveform the UPS generates while on battery. Cheaper models produce a simulated sine wave, which is fine for basic equipment but may cause problems with high-efficiency power supplies. More advanced units generate a pure sine wave, which closely matches the power from the wall and is recommended for sensitive or enterprise-grade hardware. If you're using active power factor correction (PFC) equipment, a pure sine wave UPS is strongly recommended.
At the high end are online UPS units, sometimes called double-conversion or line-interactive models. These systems convert incoming AC power to DC and then back to AC, providing completely clean, isolated power at all times. This protects against dirty power as well as outages, but it comes with a higher price tag and usually more noise.
Design Choices
Power is more than just what comes out of the wall—it’s a design opportunity. By planning around power draw, cooling, and resilience, you’re not just avoiding problems. You’re building a HomeLab that runs smarter, lasts longer, and is ready for whatever comes next.