The Ultimate Homelab Guide
Build smarter, not louder. Learn how to start a HomeLab without wasting power, money, or space.

There is a clear difference between those who read about technology and those who tinker with it. The latter build, break, and experiment. In doing so, they gain the kind of experience that cannot be taught.
A HomeLab is a personal environment for exploring infrastructure, automation, networking, and virtualization. It might be an old laptop or an entire rack of servers in a basement. For some, it begins as a simple curiosity. For others, it is a path toward professional growth. Communities like r/homelab on Reddit have grown into vibrant hubs of activity, offering guides, advice, and photos of impressive setups. YouTube creators like Level1Techs and Craft Computing have helped demystify the process, showing both the technical depth and the personal satisfaction of building a lab at home.
In this guide, we explore what a HomeLab is, how to build one and what you can run on it. This isn’t a tutorial. Rather, its an lengthy introduction to the HomeLab journey.
What Is a Server?
A server is a computer that provides services to other devices. It runs all day, every day, “quietly” doing its job in the background. This could mean storing files, sharing media, managing a network, or running a website. What makes a server different from a regular computer is its specialized purpose.
Servers are typically set up once and then controlled from another device over the network. Keyboards and monitors are only needed in case of emergencies. As such, the server is often that box that sits on a shelf or in a closet, doing important work without needing attention.
Some servers use regular operating systems like Linux, Windows, or MacOS. Others run specialized variants designed for a single purpose. For example:
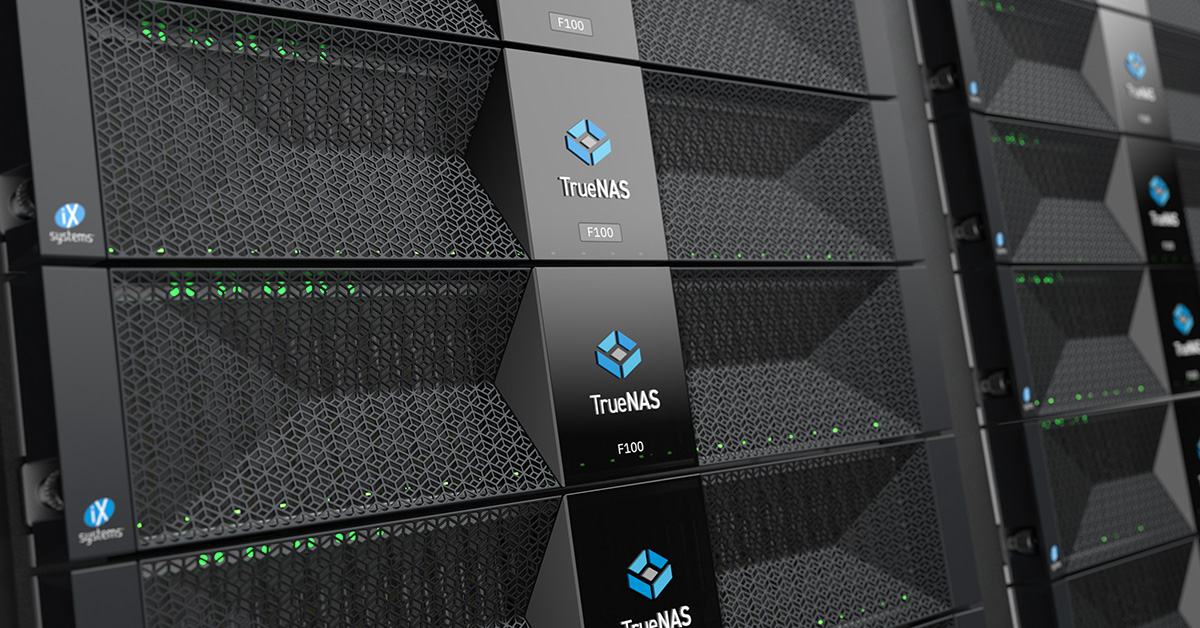
- TrueNAS turns a computer into a file storage system that other devices can access.
- OPNsense turns a computer into a router or firewall, controlling how data moves on your home network.
- Proxmox or Virtualbox allow you to run many smaller virtual computers on a single physical machine, a process called virtualization.
In an enterprise setting, servers are the building blocks behind popular services on the internet. When you stream a video, save a file online, or use an app, your device is communicating with a server somewhere else. In those cases, the servers are part of what people call “the cloud”: a group of remote computers you access over the internet.
What Can You Run in a HomeLab?
The most exciting parts of building a HomeLab is choosing what to run on it. A server by itself does nothing. It becomes useful when it runs software that provides services or tools that can be used by you, your family, or others on your network. The following are some of the most common uses for a HomeLab.
Store and Share Files
Many people start with file storage. This is known as a network-attached storage system, or NAS. It provides a central place where computers can store and access files. This might include photos, videos, documents, or even entire backups. They are often build for reliability, keeping data save even when some of its hardware fails. Operating system variants like TrueNAS, Unraid and OMV makes it easy to set up a NAS and manage it through a web browser.

Run Personal Applications
A HomeLab is a great place to try self-hosted applications. These are programs that usually run in the cloud but can also run on your own hardware. As such, your data stays under your control. With software like Docker, you can install and manage these tools with minimal setup. Some popular examples include:

Home Assistant, to control smart devices and automate your home
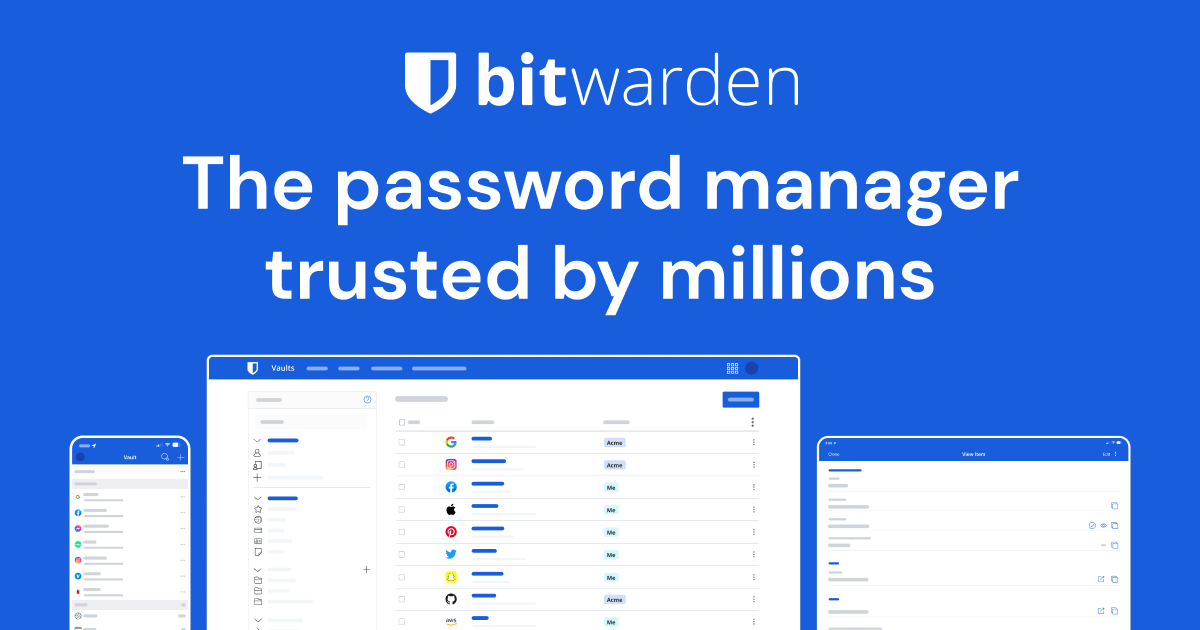
Bitwarden, to store and manage passwords securely
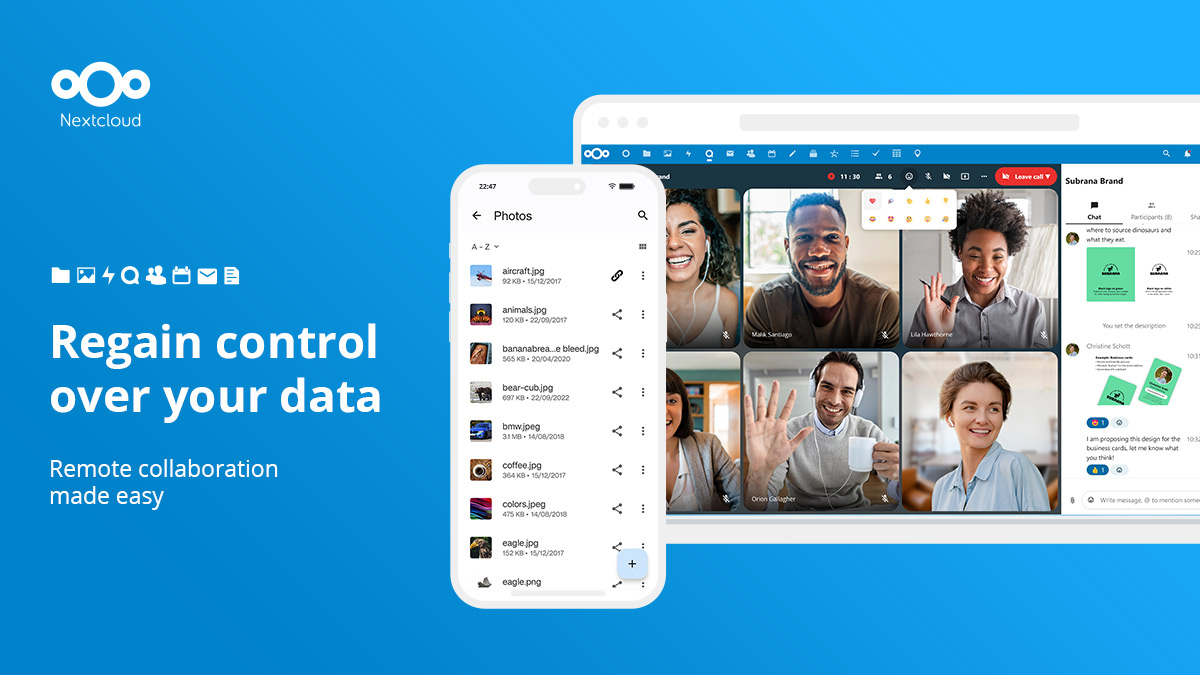
Nextcloud, to share files and calendars without relying on outside companies
Create Virtual Machines
A single server can also run multiple smaller computers using a process called virtualization. In this case, the single server is known as a hypervisor and the small virtual computers are known as virtual machines. They behave like real computers but live entirely inside the server. With platforms like Proxmox, you can create and manage these virtual machines over a web interface. One might run a website. Another might be used for software testing. A third might serve as a backup server.
Host Games and Media
HomeLabs can also be used for fun. Media servers like Plex or Jellyfin let you stream movies and shows from your own library. You can also host game servers, allowing you and your friends to play multiplayer games together on hardware you control.
Choosing Your First Server
Your first HomeLab does not need to be fancy. Many people begin with an old desktop or laptop computer. It is an inexpensive option and perfect for trying out basic services like file sharing or self-hosted apps. If it has a stable network connection and can run Linux or another lightweight operating system, it is a good starting point. As your needs grow, your next hardware choice will depend on your priorities.
Inexpensive and Powerful Hardware
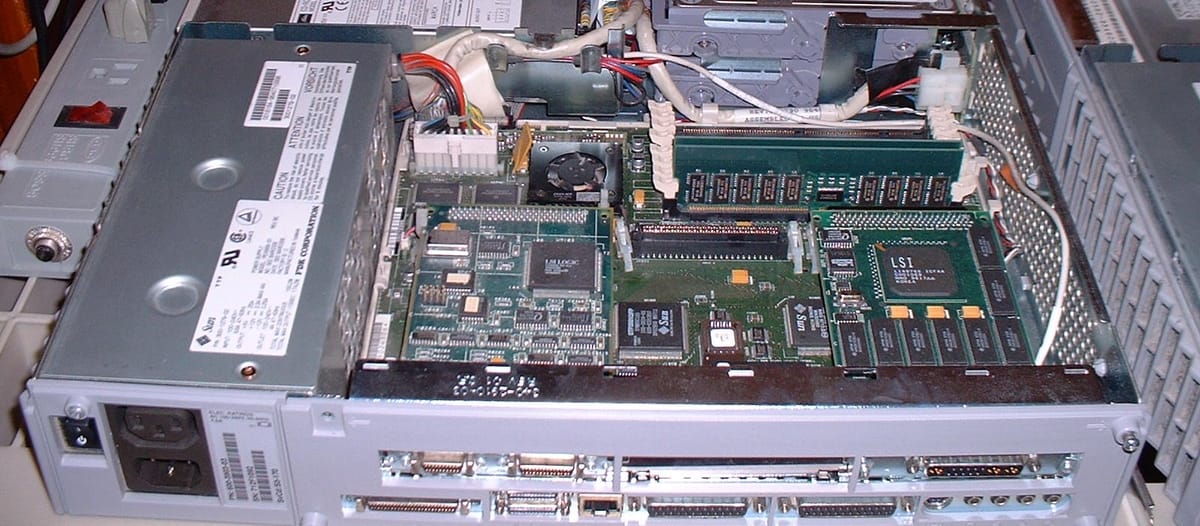
Used enterprise servers offer excellent performance at a surprisingly low cost. These are machines that were once used in data centers and are now sold at a fraction of their original price. Common models include the Dell PowerEdge or HP ProLiant series. They often support large amounts of memory, many CPU cores, and multiple hard drives.
However, this power comes with tradeoffs. Enterprise servers are often rackmount systems, meaning they are designed to slide into metal racks used in server rooms. They are also loud, draw a lot of electricity, and generate a significant amount of heat. Before buying one, make sure you have a suitable space like a basement, garage, or server closet.
Small and Silent
There are many options for those who want quiet, compact hardware that blends into a living space.
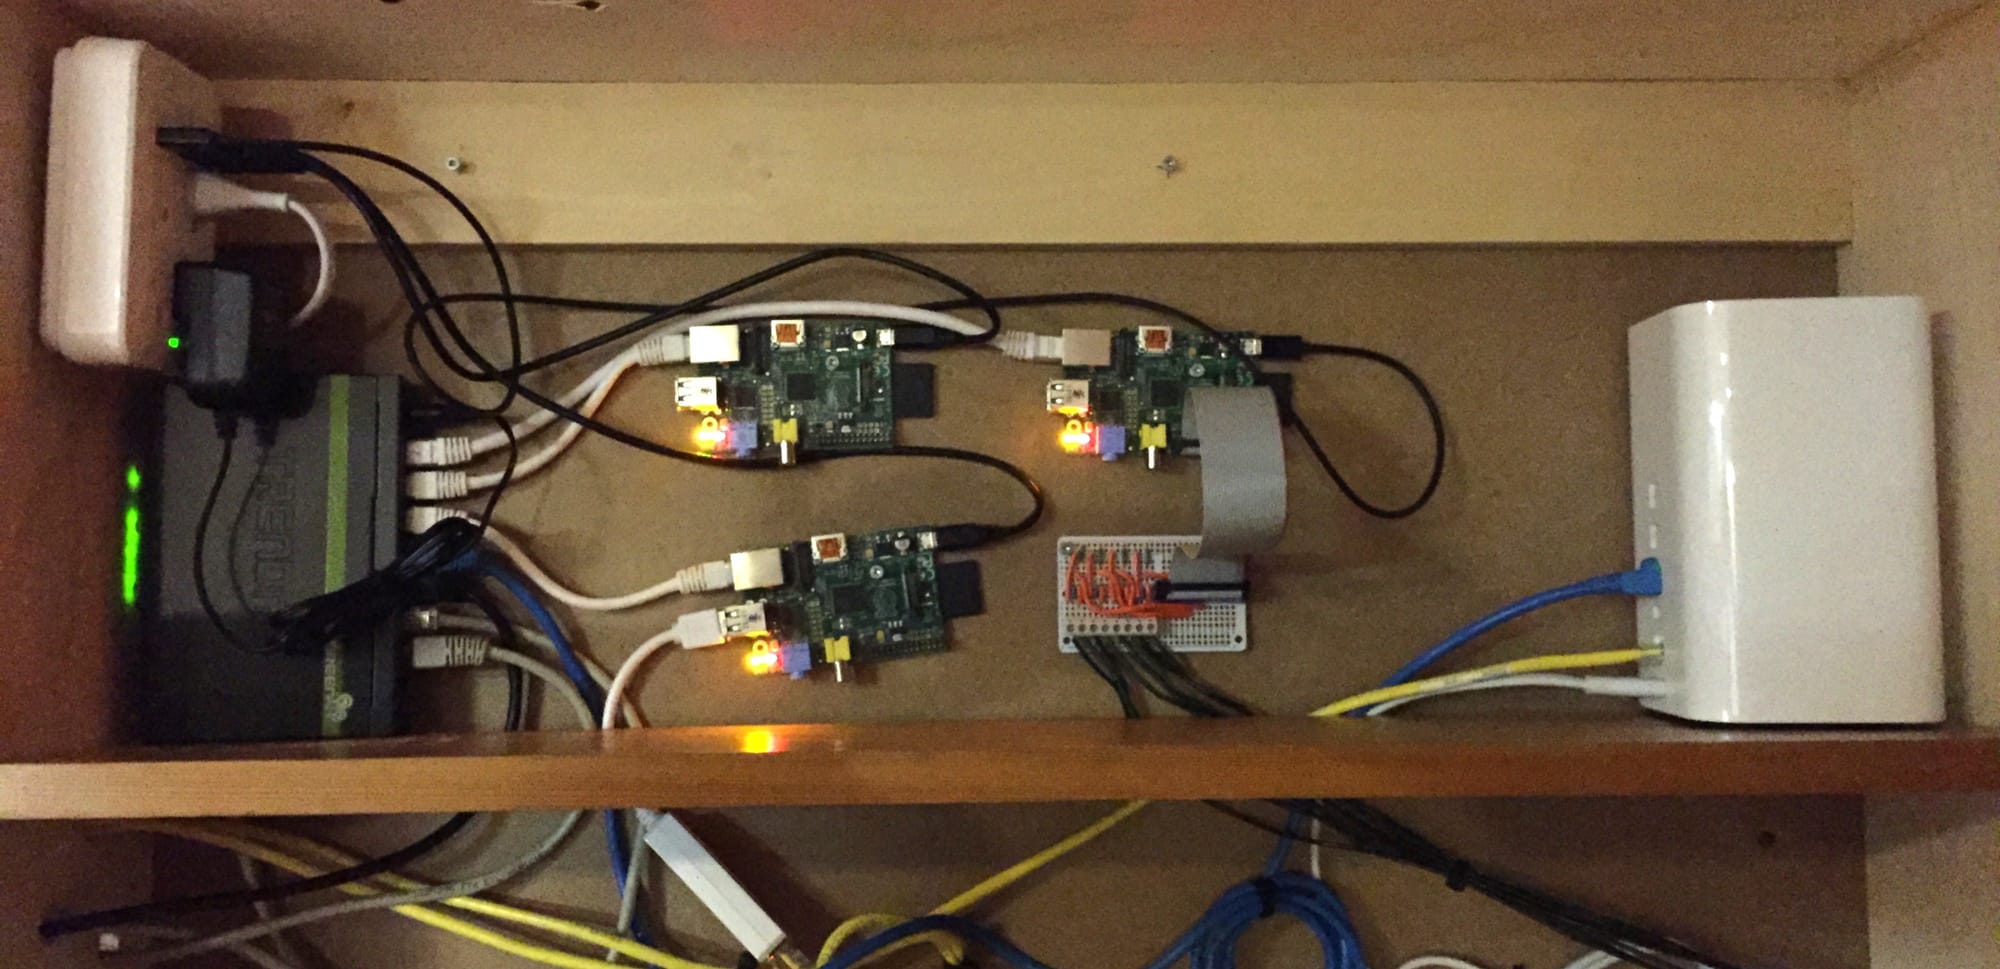
On the low end, single-board computers offer a gentle learning curve and very low power consumption. The most well-known is the Raspberry Pi. It is not very powerful and has limited room for expansion, but it is widely supported and perfect for small projects. Many beginner HomeLab users start here.
In the mid-range, Intel NUCs and similar mini PCs offer more processing power while remaining quiet and compact. These devices are a good fit for running several lightweight services at once, and they are often available at reasonable prices.
For those with a larger budget, Minisforum systems like the MS-01 or MS-A2 provide workstation-level performance in a small, silent enclosure. These models are highly regarded for their balance of power, size, and thermal management.
If your priority is quiet storage, consider a UGREEN NAS system. These compact enclosures support multiple hard drives and can run either UGREEN’s custom operating system or one of the open-source storage platforms mentioned earlier in this article.
Powerful and Silent
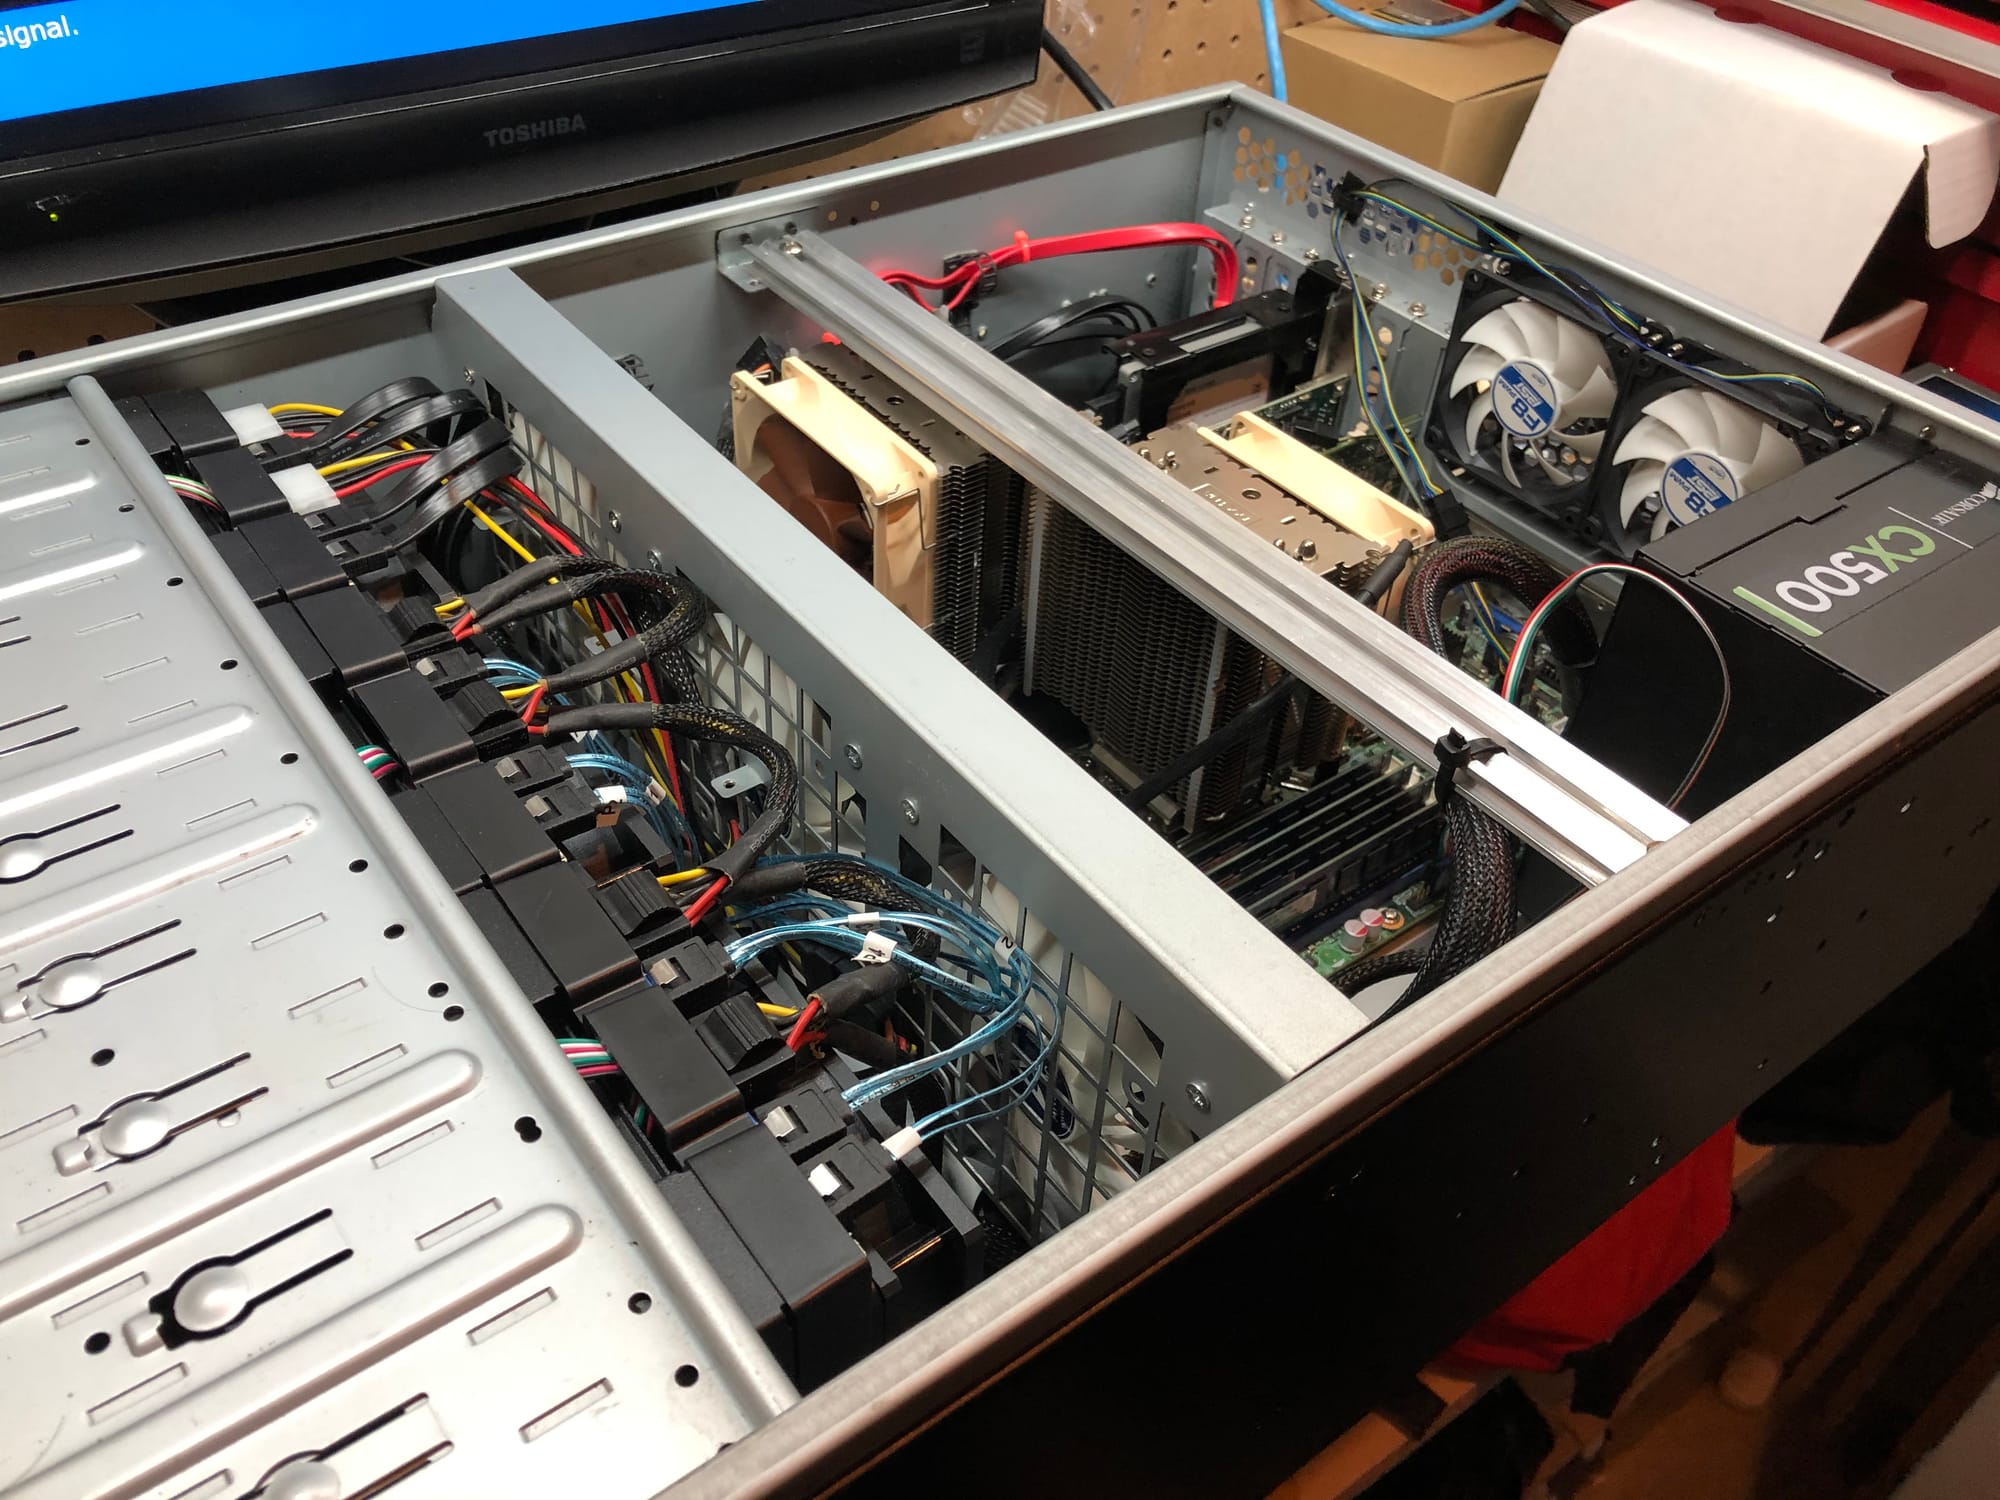
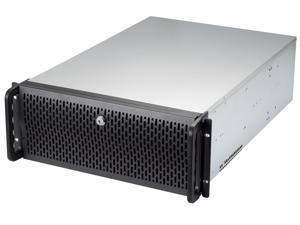
If you want the best of all worlds, a custom-built system is the way to go. Start by choosing a case. This can be a traditional tower case like the Fractal Define series, or a compact rackmount enclosure from companies like Rosewill or Sliger.
Once the case is selected, choose a motherboard that supports the features you need. Consider how many hard drives you want to install, how much RAM you will use, and whether you need support for virtualization or GPU acceleration.
From there, build the system like a standard PC. Select a CPU, memory, storage, and power supply that match your goals. This route requires more planning and effort, but it offers full control over every component and ensures the system will grow with your needs.
Where Do You Keep Your Server?
Once you have chosen your hardware, the next question is where to put it. The location of your server affects more than just convenience—it also impacts noise levels, cooling, and even how others in your home feel about the setup. There is no single right answer. Many people use a mix of the options below, depending on their space and hardware. No matter where you place your server, plan for heat, airflow, and access.
In the Office
Keeping your server in your home office makes it easy to access. You can plug in a monitor and keyboard directly, which can be helpful during setup or troubleshooting. This setup works well for quiet machines like mini PCs or single-board computers. However, even small fans can become noticeable in a quiet room, so it is best to avoid placing noisy or hot equipment near your workspace.
In a Closet or Cabinet
A hallway closet or storage cabinet is a popular option for small HomeLabs. It keeps equipment out of sight and earns a higher approval rating from family members or partners. The enclosed space helps reduce noise, but it can also trap heat. Be mindful of ventilation. Servers need airflow to stay cool and reliable. Some users add small fans or cut vents into closet doors to improve air movement.
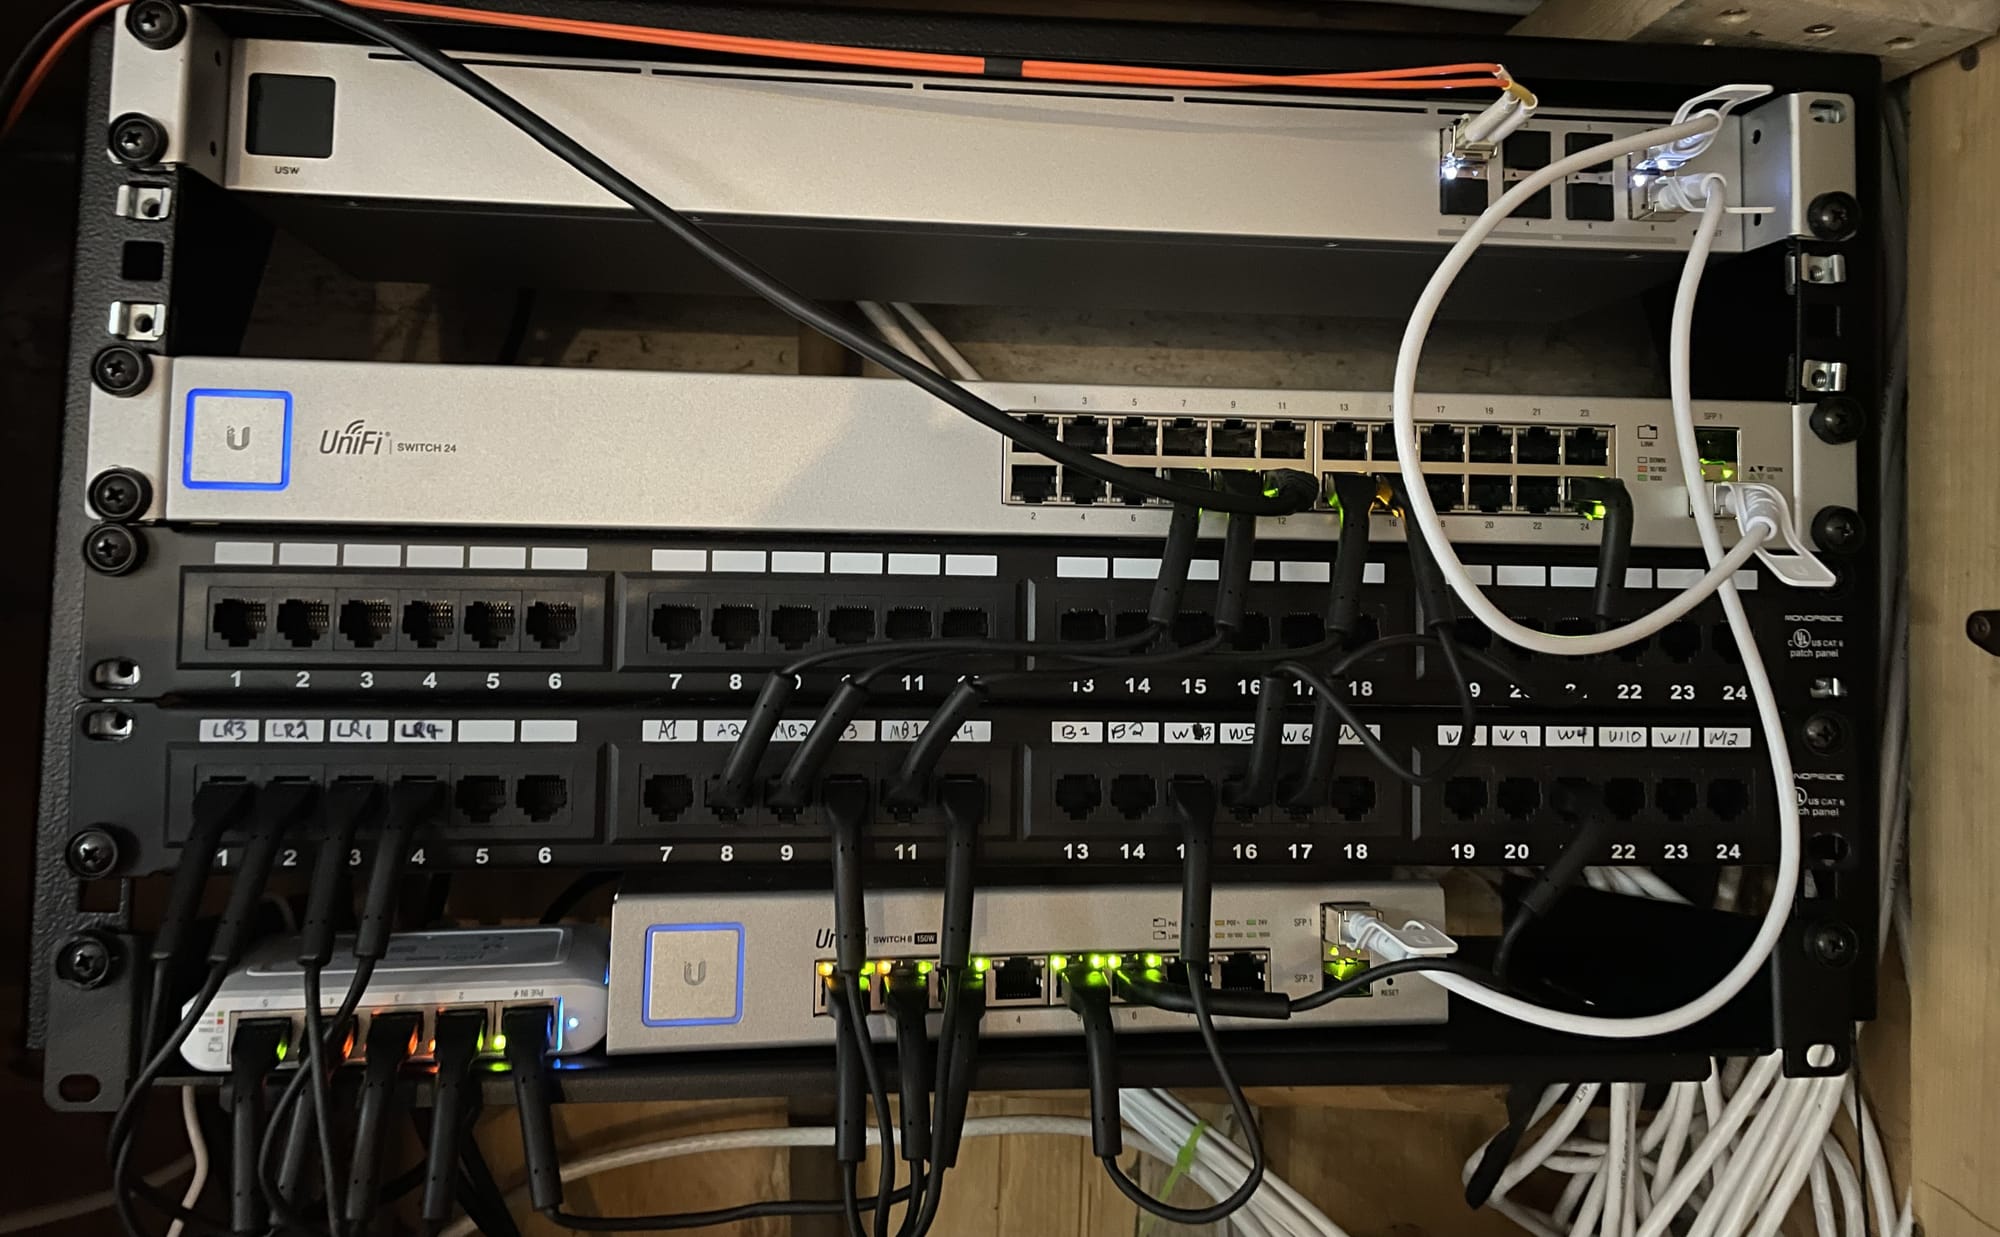
On a Server Rack
As a HomeLab grows, a server rack becomes a practical option. A server rack is a metal frame designed to hold standardized equipment, such as rackmount servers, switches, and power supplies. These racks are measured in units (called “U”), where one unit is 1.75 inches tall. A typical rack might be 12U to 42U in height. There are different kinds of server racks. Open-frame racks are simple and allow easy airflow, while enclosed racks offer more protection and better cable management. Some HomeLab builders use half-racks or wall-mounted racks to save space.
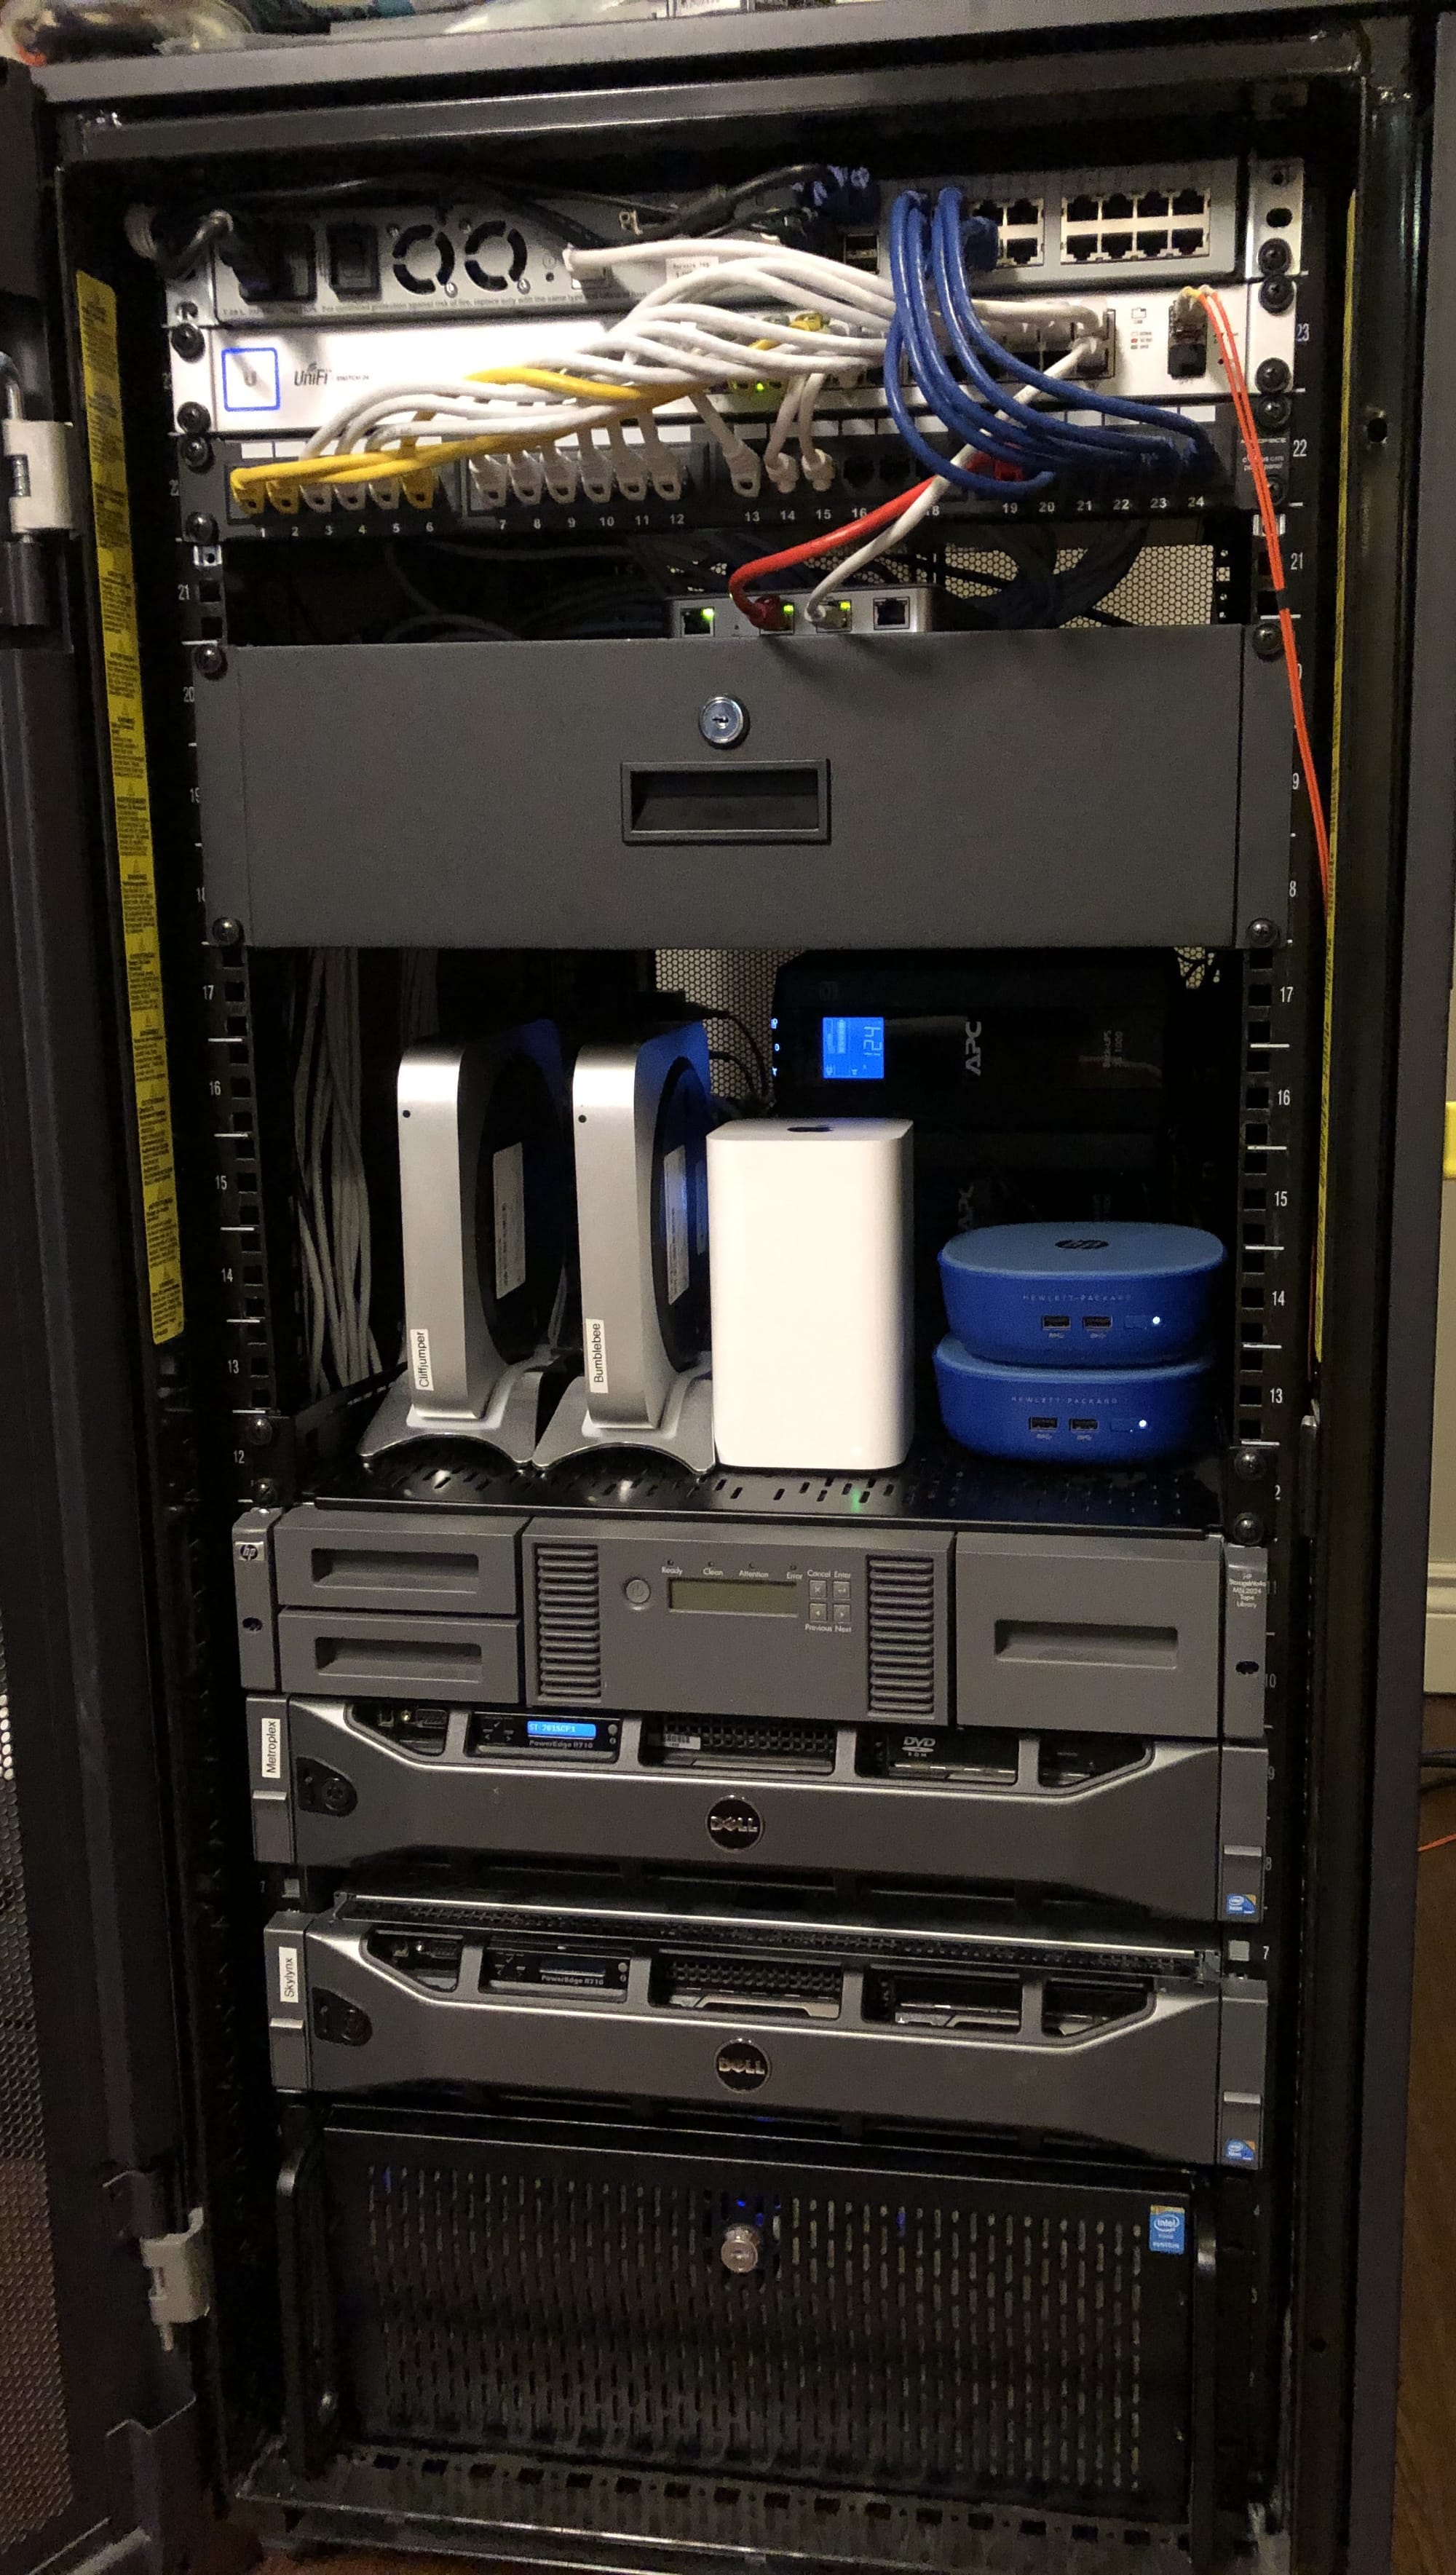
Racks make it easier to organize multiple devices, especially when using rackmount hardware. They also support accessories like sliding shelves, cable trays, and network patch panels. However, racks take up space and may look out of place in living areas. Most are found in basements, garages, or dedicated utility rooms.
Networking Essentials
Every HomeLab needs a network, and like everything in this space, there is room to grow. Some users are content to plug into their existing router and get to work. Others slowly build out more advanced setups with dedicated hardware, custom configurations, and segmented traffic. This section outlines three common levels of networking, from simple beginnings to more complex and specialized solutions.
Level 1 Beginner
Most HomeLabs begin with the equipment already in place. This usually means using the router provided by your internet service provider. Servers are connected directly to it, often alongside other household devices. If more ports are needed, a small unmanaged switch can be added to increase the number of available network connections.
This setup requires very little maintenance. It is a practical and accessible way to get started, especially for users who are new to networking. At this stage, many users begin to explore basic concepts such as IP addressing and subnetting. Understanding how devices receive addresses, whether through automatic DHCP or manual static IP assignment, can help prevent conflicts and simplify access. Setting static IPs for servers can make it easier to locate them on the network and manage port forwarding rules.
As your HomeLab grows, you may start to explore remote access solutions. VPN software can allow secure access to your network from the outside, while tools like Tailscale or Cloudflare Tunnel make it possible to reach your services without exposing ports to the public internet. You may also begin experimenting with port forwarding, or linking two networks together through a tunnel. This is also a good time to learn how to draw basic network diagrams, which can help plan future upgrades and make troubleshooting easier.
This level focuses on keeping things simple. It works well for running a few internal services or learning the basics of connectivity and remote access.
Level 2 Intermediate
As demands increase, so does the need for control. Many HomeLab users upgrade to more advanced network hardware designed for the home and small business market. A common next step is to replace the ISP’s router with a dedicated gateway device that handles both routing and firewall duties.
At this level, wireless access is often improved by installing one or more dedicated access points. These devices provide better signal coverage and can be placed strategically throughout the home. A power-over-Ethernet switch is often added to supply electricity to connected devices such as mini PCs, IoT hubs, or security cameras, reducing cable clutter and the need for separate power adapters.
This is also where understanding DNS becomes important. DNS stands for Domain Name System, and it works like the phone book of the internet. When you type a name like “technodabbler.com” into your browser, DNS translates that name into an IP address, allowing your device to connect to the correct server.
Internal DNS can also be used to filter unwanted traffic. Tools like Pi-hole act as both DNS servers and network-wide ad blockers. When a device tries to load an ad or connect to a tracking domain, these tools quietly block the request. This improves privacy, reduces bandwidth usage, and speeds up browsing across all devices on your network.
This type of setup provides more insight into how data moves through your network. It also opens the door to advanced features like usage statistics, quality-of-service adjustments, internal name resolution, and some early automation. For many, this is the point where the network becomes part of the hobby.
Level 3 Advanced
For those looking to create a truly customized network, the next step is segmentation. At this level, virtual local area networks, or VLANs, are used to divide devices into different groups. Each group operates as its own network, isolated from the others unless specific permissions are set. This approach improves security and performance by separating devices based on their function. Smart home devices can be kept away from personal computers. Guest devices can be isolated from servers. Lab environments can be cordoned off to avoid accidental interference.
Advanced networks also benefit from increased speed. Upgrading to ten gigabit Ethernet allows for faster data transfers between servers, especially useful for moving large files or syncing backups. Many modern switches and network cards offer SFP ports, which are special high-speed interfaces designed for fiber optic or direct-attached copper connections. These ports allow you to extend networking over longer distances, reduce electrical interference, and make use of enterprise-grade connectivity options in your HomeLab.
Network routing also becomes more advanced at this stage. Instead of relying solely on the default gateway, users may experiment with custom routing rules, multiple subnets, and even basic routing protocols such as RIP or BGP in lab environments. Although rarely needed in a residential setup, these protocols help illustrate how the internet itself moves traffic between different networks.
Other advanced practices include running a separate guest network with strict access controls, using VLAN tagging for fine-grained isolation, and capturing network traffic for analysis. Tools like Wireshark allow users to inspect individual packets and gain a deeper understanding of how protocols function in real time. This level requires patience and a willingness to troubleshoot, but it opens the door to enterprise-level networking knowledge from the comfort of home.
At this level, the network becomes more than just a utility. It becomes a fully-fledged project, with custom configurations, layered security, advanced logging, and finely tuned performance. It may not always be practical, but for many HomeLab builders, it is endlessly rewarding.
Storage Basics
No matter what your HomeLab is designed to do, reliable storage will always be part of the equation. For many, the desire to store large amounts of data safely is the main reason to start building a HomeLab in the first place. Whether it is media, backups, documents, or virtual machines, knowing your data is accessible and protected brings peace of mind.
The first step is to understand your storage needs. Ask yourself how much data you need to store and how important it is to keep that data safe. Once that is clear, you can start designing a storage system that meets your needs. A good storage setup includes three layers: the hardware, the operating system, and the way data is shared across the network.
The Hardware Layer
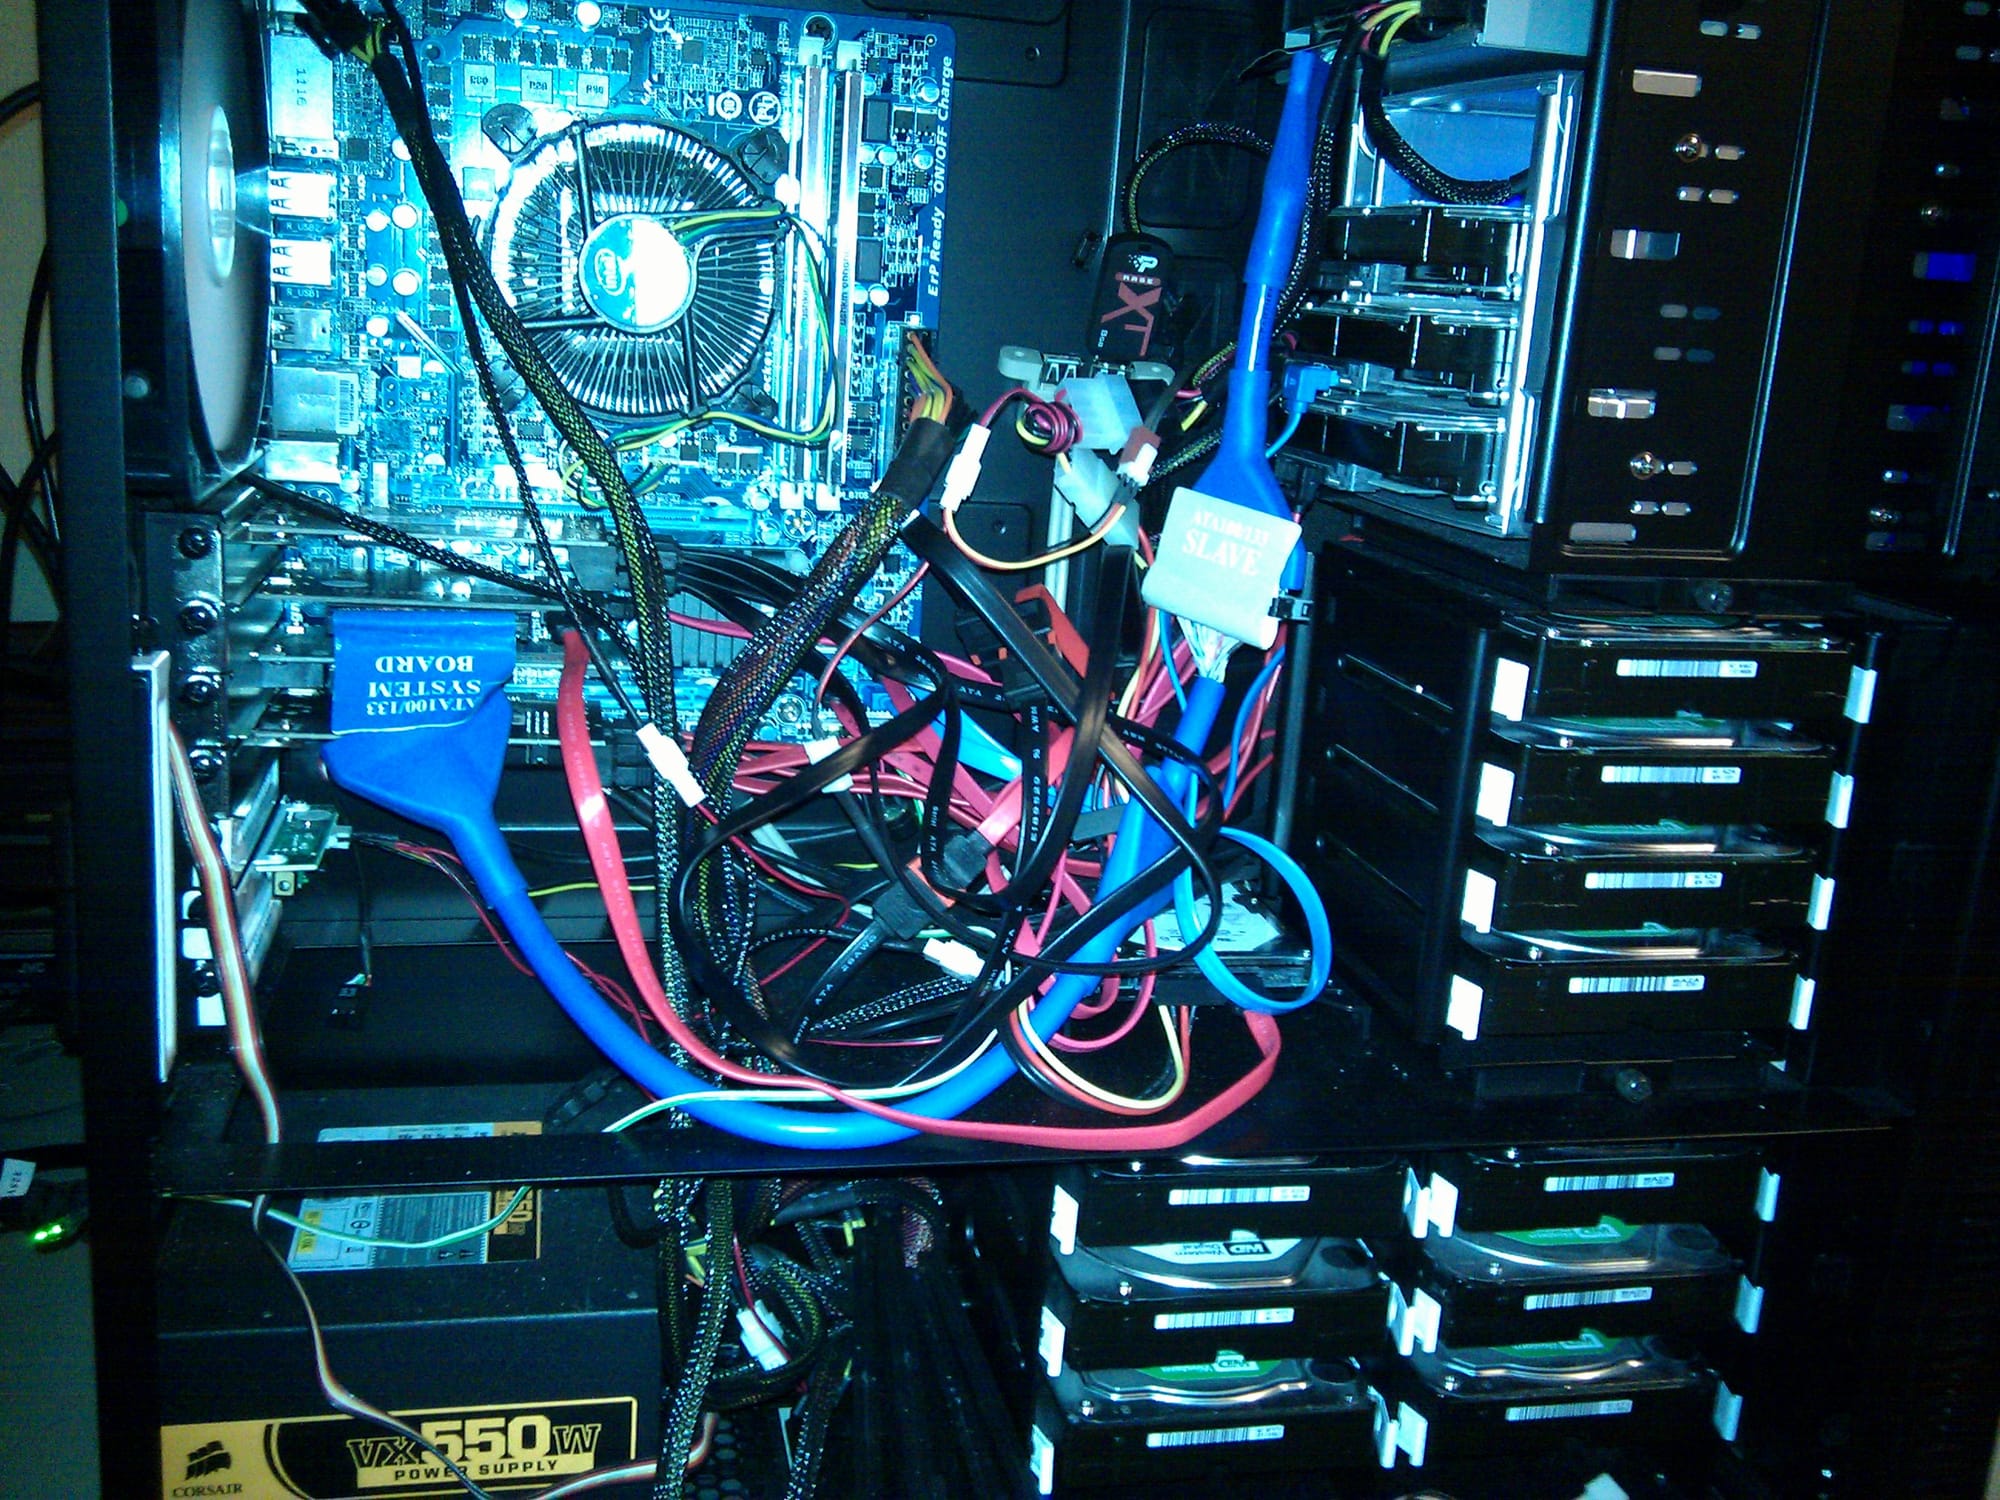
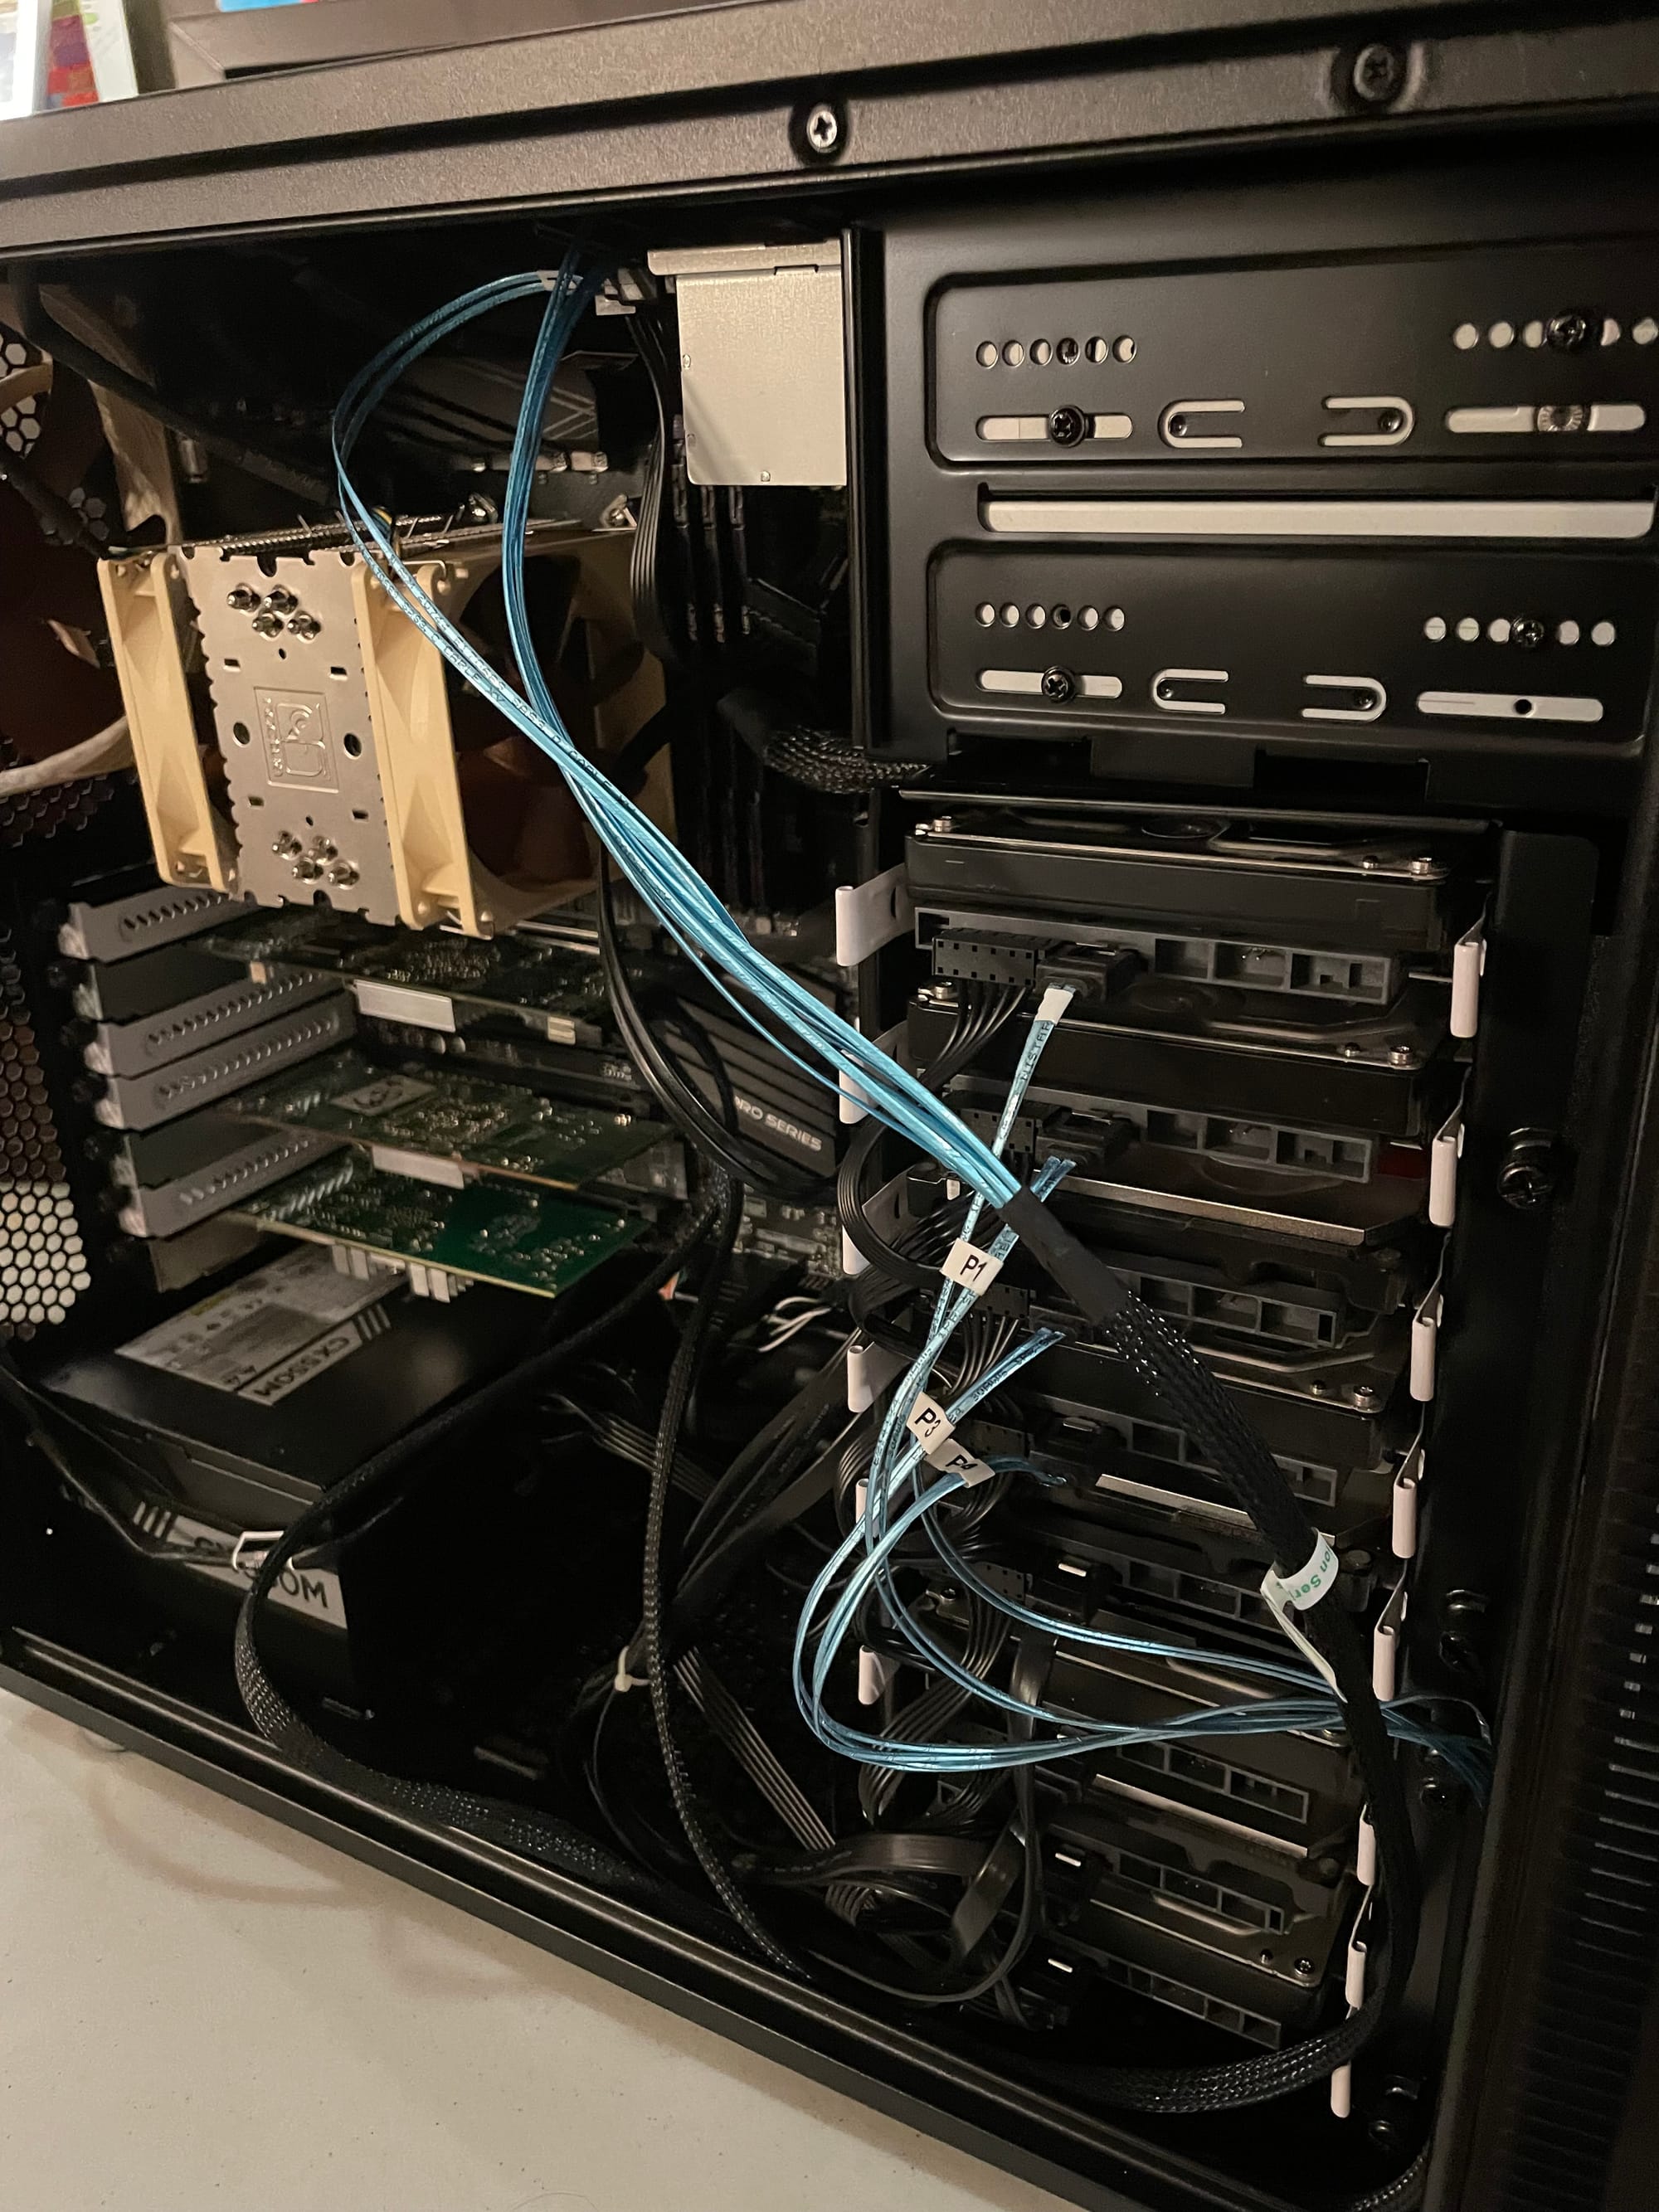
Storage hardware comes down to two key elements: the drives and the chassis that holds them.
Hard drives, or HDDs, store data using magnetic platters that spin at high speeds. They are the most affordable way to store large amounts of data, making them popular in media servers and backup systems. However, they are slower than modern alternatives and more vulnerable to physical failure due to moving parts. Most HDDs connect to the system using SATA, a common connector type, or SAS, a faster version often used in enterprise setups.

Solid-state drives, or SSDs, store data on flash memory chips. They have no moving parts, which makes them faster, quieter, and generally more reliable than hard drives. SSDs come in several physical formats, including 2.5-inch drives, M.2 sticks that slot directly onto the motherboard, and U.2 drives found in high-performance servers. The connection standard also varies, with SATA SSDs being the slowest and NVMe drives—typically using the PCIe bus—offering the highest speed and performance. These speed gains come at a cost, as SSDs tend to be more expensive per gigabyte and may have limited write endurance depending on their type.
The chassis is the enclosure where all the drives live. Some users choose a dedicated appliance, such as a UGREEN NAS or a QNAP system, which includes bays for hard drives and often runs a preinstalled operating system. Others prefer to build their own system using a standard PC case with room for multiple drives. This route requires attention to motherboard layout and power supply capacity. You may need a controller card to connect additional drives and extra power connectors to support high-capacity spinning disks. The key is planning for both airflow and expansion, especially if your data needs are expected to grow.
The Operating System Layer
Once the drives are installed, the next question is what operating system will manage them. Your choice of software will determine how data is organized, how it is protected, and what features are available.
TrueNAS is one of the most popular choices in the HomeLab world. It is known for its use of the ZFS file system, which includes powerful features such as data integrity checks, snapshots, and built-in redundancy. ZFS also introduces ZRAID, a way to group disks together in a way that protects against drive failure. ZFS expects direct access to each individual disk, which is why many builders choose to run their disks in JBOD mode—short for “just a bunch of disks.” This typically requires a specific kind of controller, such as an LSI adapter with IT-mode firmware, commonly found on secondhand marketplaces like eBay.
Unraid offers a different approach, with flexible disk pooling and an intuitive user interface. It supports parity protection without requiring uniform disk sizes and is particularly popular for mixed-media storage and Docker workloads.
OpenMediaVault is another reliable option, especially for users comfortable with Debian Linux.
For beginners, HexOs is an emerging platform that focuses on simplicity and ease of setup. It is designed for first-time HomeLab users and offers a modern interface with just enough power under the hood. That said, HexOs is still in beta and may not be stable enough for long-term storage use without careful backups.
The Sharing Layer
Once your data is stored, you need a way to access it. The most common protocol for this is SMB, short for Server Message Block. Originally developed by Microsoft, SMB allows files to be shared over a network and accessed by other devices as if they were local. Most computers, including Windows, macOS, and Linux systems, support SMB out of the box, which makes it an ideal default for HomeLabs focused on file sharing or media libraries.
If you want a more application-based interface, similar to Google Drive, consider running Nextcloud. This self-hosted platform provides file syncing, web access, and collaboration tools like calendars and contacts. It can run on top of your storage system and is especially popular for those who want a private cloud experience with complete control over their data.
For more advanced users, block storage is another option. This approach treats remote storage as if it were a physical disk plugged into a local machine. A common protocol for block storage is iSCSI, which allows systems to mount and use remote drives at a very low level. This is useful for virtual machines or database workloads where direct disk access and performance are important.
Backups
Even the best storage system is not immune to failure. Hardware breaks. Files get deleted. Systems crash. And increasingly, ransomware attacks target HomeLabs, encrypting files and demanding payment to restore them. A single copy is not enough. You need multiple copies in different places, with at least one stored separately from the main system.
Backups are their own topic, and we will explore them in greater depth in another article. If you want to get started now, take a look at our post on why every HomeLab needs a backup. It covers the mindset and basic tools that can help you avoid painful data loss.
Electricity Consideration
Without electricity, there would be no HomeLabs. Every component depends on stable power. Understanding how much power your setup consumes is the first step toward building something stable, efficient, and sustainable.
In our full guide to power planning, we explore how to size your hardware, calculate real-world energy costs, build in redundancy, and choose the right UPS for graceful shutdowns. Taking all of this into consideration will make your HomeLab quieter, cooler, and far more resilient.
Remote Management
A KVM, or Keyboard Video Mouse switch, lets you control multiple computers using a single set of peripherals. It's especially useful in a HomeLab where space is limited, or when managing multiple servers that don't need their own dedicated monitor or keyboard. With a physical or networked KVM, you can switch between systems without constantly reconnecting cables.
If you're running headless systems or want to streamline your setup, a KVM can make a big difference. You can find more information on why you would need a KVM in our guide. Whether you're managing one server or an entire rack, it's worth understanding your options.
Learning Resources and Community
One of the best parts of starting a HomeLab is that you are not alone. There is a large, active community of people who enjoy building servers, solving problems, and sharing what they learn. Whether you are troubleshooting a network issue or looking for advice on hard drives, there is almost always someone who has been there before.
Reddit – r/homelab
The r/homelab community has grown into one of the most active spaces for HomeLab enthusiasts. With hundreds of thousands of members, it includes beginners, professionals, and everyone in between. The community wiki is a great place to start, offering beginner guides, hardware suggestions, and software recommendations.
One of its valuable resources is the Homelab Wiki, a curated collection of beginner guides, hardware comparisons, and software recommendations contributed by the community. It’s referenced throughout this article for good reason: it’s a trusted starting point when researching tools or planning your next upgrade.
Posts range from technical questions to full build showcases. If you are unsure what to try next, scrolling through this subreddit can offer both answers and inspiration.
YouTube Creators
Video guides make it easier to understand complex topics. Several YouTube channels focus on HomeLabs and related technology. These creators explain concepts clearly, show real setups, and often provide honest reviews of software and hardware.


Community Discussions
Outside of Reddit and YouTube, there are forums and chat groups where people gather to discuss their setups. Many open-source projects host official forums with detailed documentation and active help from both developers and users.
For more general discussion, the ServeTheHome and LevelOneTechs forums are a great place to dive deep into server hardware, virtualization, and rackmount setups. Users often post detailed build logs, benchmarks, and troubleshooting threads for both enterprise and DIY gear.

Many of the projects presented in this article will have their own forums or discord, much better suited to help on those individuals projects.
Common Mistakes and Final Advice
Building a HomeLab is a rewarding journey, but it can also be overwhelming. It’s easy to make mistakes in the beginning, especially when excitement outpaces experience. Here are some of the most common issues new users face, and how to avoid them.
Overspending Too Early
It’s tempting to buy a rack, switch, and multiple servers right away. Many people do this only to realize they don’t need half the equipment. Start small. Use what you have. Let your needs guide your upgrades. A modest setup with one or two services will teach you far more than a pile of unused gear.
Forgetting to Document
In a HomeLab, small changes add up quickly. One forgotten password or skipped setting can lead to hours of troubleshooting. Keep notes. Write down what you installed, how you configured it, and where key files are stored. You don’t need a fancy system, a shared doc or notebook will save you hours down the line.
Skipping Backups
Everyone knows backups are important and yet many HomeLabs run without them. Drives fail. Accidents happen. A good backup plan includes three things: regular snapshots, copies on different hardware, and at least one offsite backup. Don’t wait for disaster to learn this lesson.
Underestimating Heat, Noise, and Power
Enterprise hardware is powerful, but it’s not built for homes. It can be loud, hot, and energy-hungry. Some gear may even require special power connections. Before you commit to enterprise equipment, make sure you have the space, airflow, and budget to support it.
Opening a Network Port to the Internet
It might seem convenient to expose a service directly to the internet, especially when setting up remote access. But without proper protection, this can leave your HomeLab vulnerable to attacks and automated scans. Instead of opening ports on your firewall, consider using a secure VPN solution. Tools like Tailscale, ZeroTier, or WireGuard allow you to access your lab from anywhere without exposing it to the open web. These tools are easy to set up and offer a safer alternative to port forwarding.
Where to Start
Getting started with a HomeLab doesn't require a rack full of blinking lights. The best first step is to build something simple and learn by doing.
- Pick one service you’d like to self-host.
It could be a media server like Jellyfin, a file sync tool like Nextcloud, or a smart home hub like Home Assistant. - Choose your hardware.
Start with what you have—an old laptop, desktop, or Raspberry Pi. If you’re buying something, look for a quiet and power-efficient device like a used Intel NUC. - Plan your storage and backups.
Make sure you have enough disk space and at least one backup, even if it’s just an external drive. - Secure your network.
Don’t expose services directly to the internet. Use a VPN like Tailscale or ZeroTier for remote access. Stick to private IPs until you're confident with firewalls and NAT. - Document what you do.
Start a digital notebook, a Google Doc, or even a Git repo. Write down what you install, how you configured it, and anything you had to troubleshoot. - Join the community.
Follow r/homelab, read the wiki, and check out channels like Level1Techs or Craft Computing. If you're stuck, someone else has been too.
You don’t need to do everything at once. A HomeLab is not a single project, it is a journey. Start small and build what excites you.